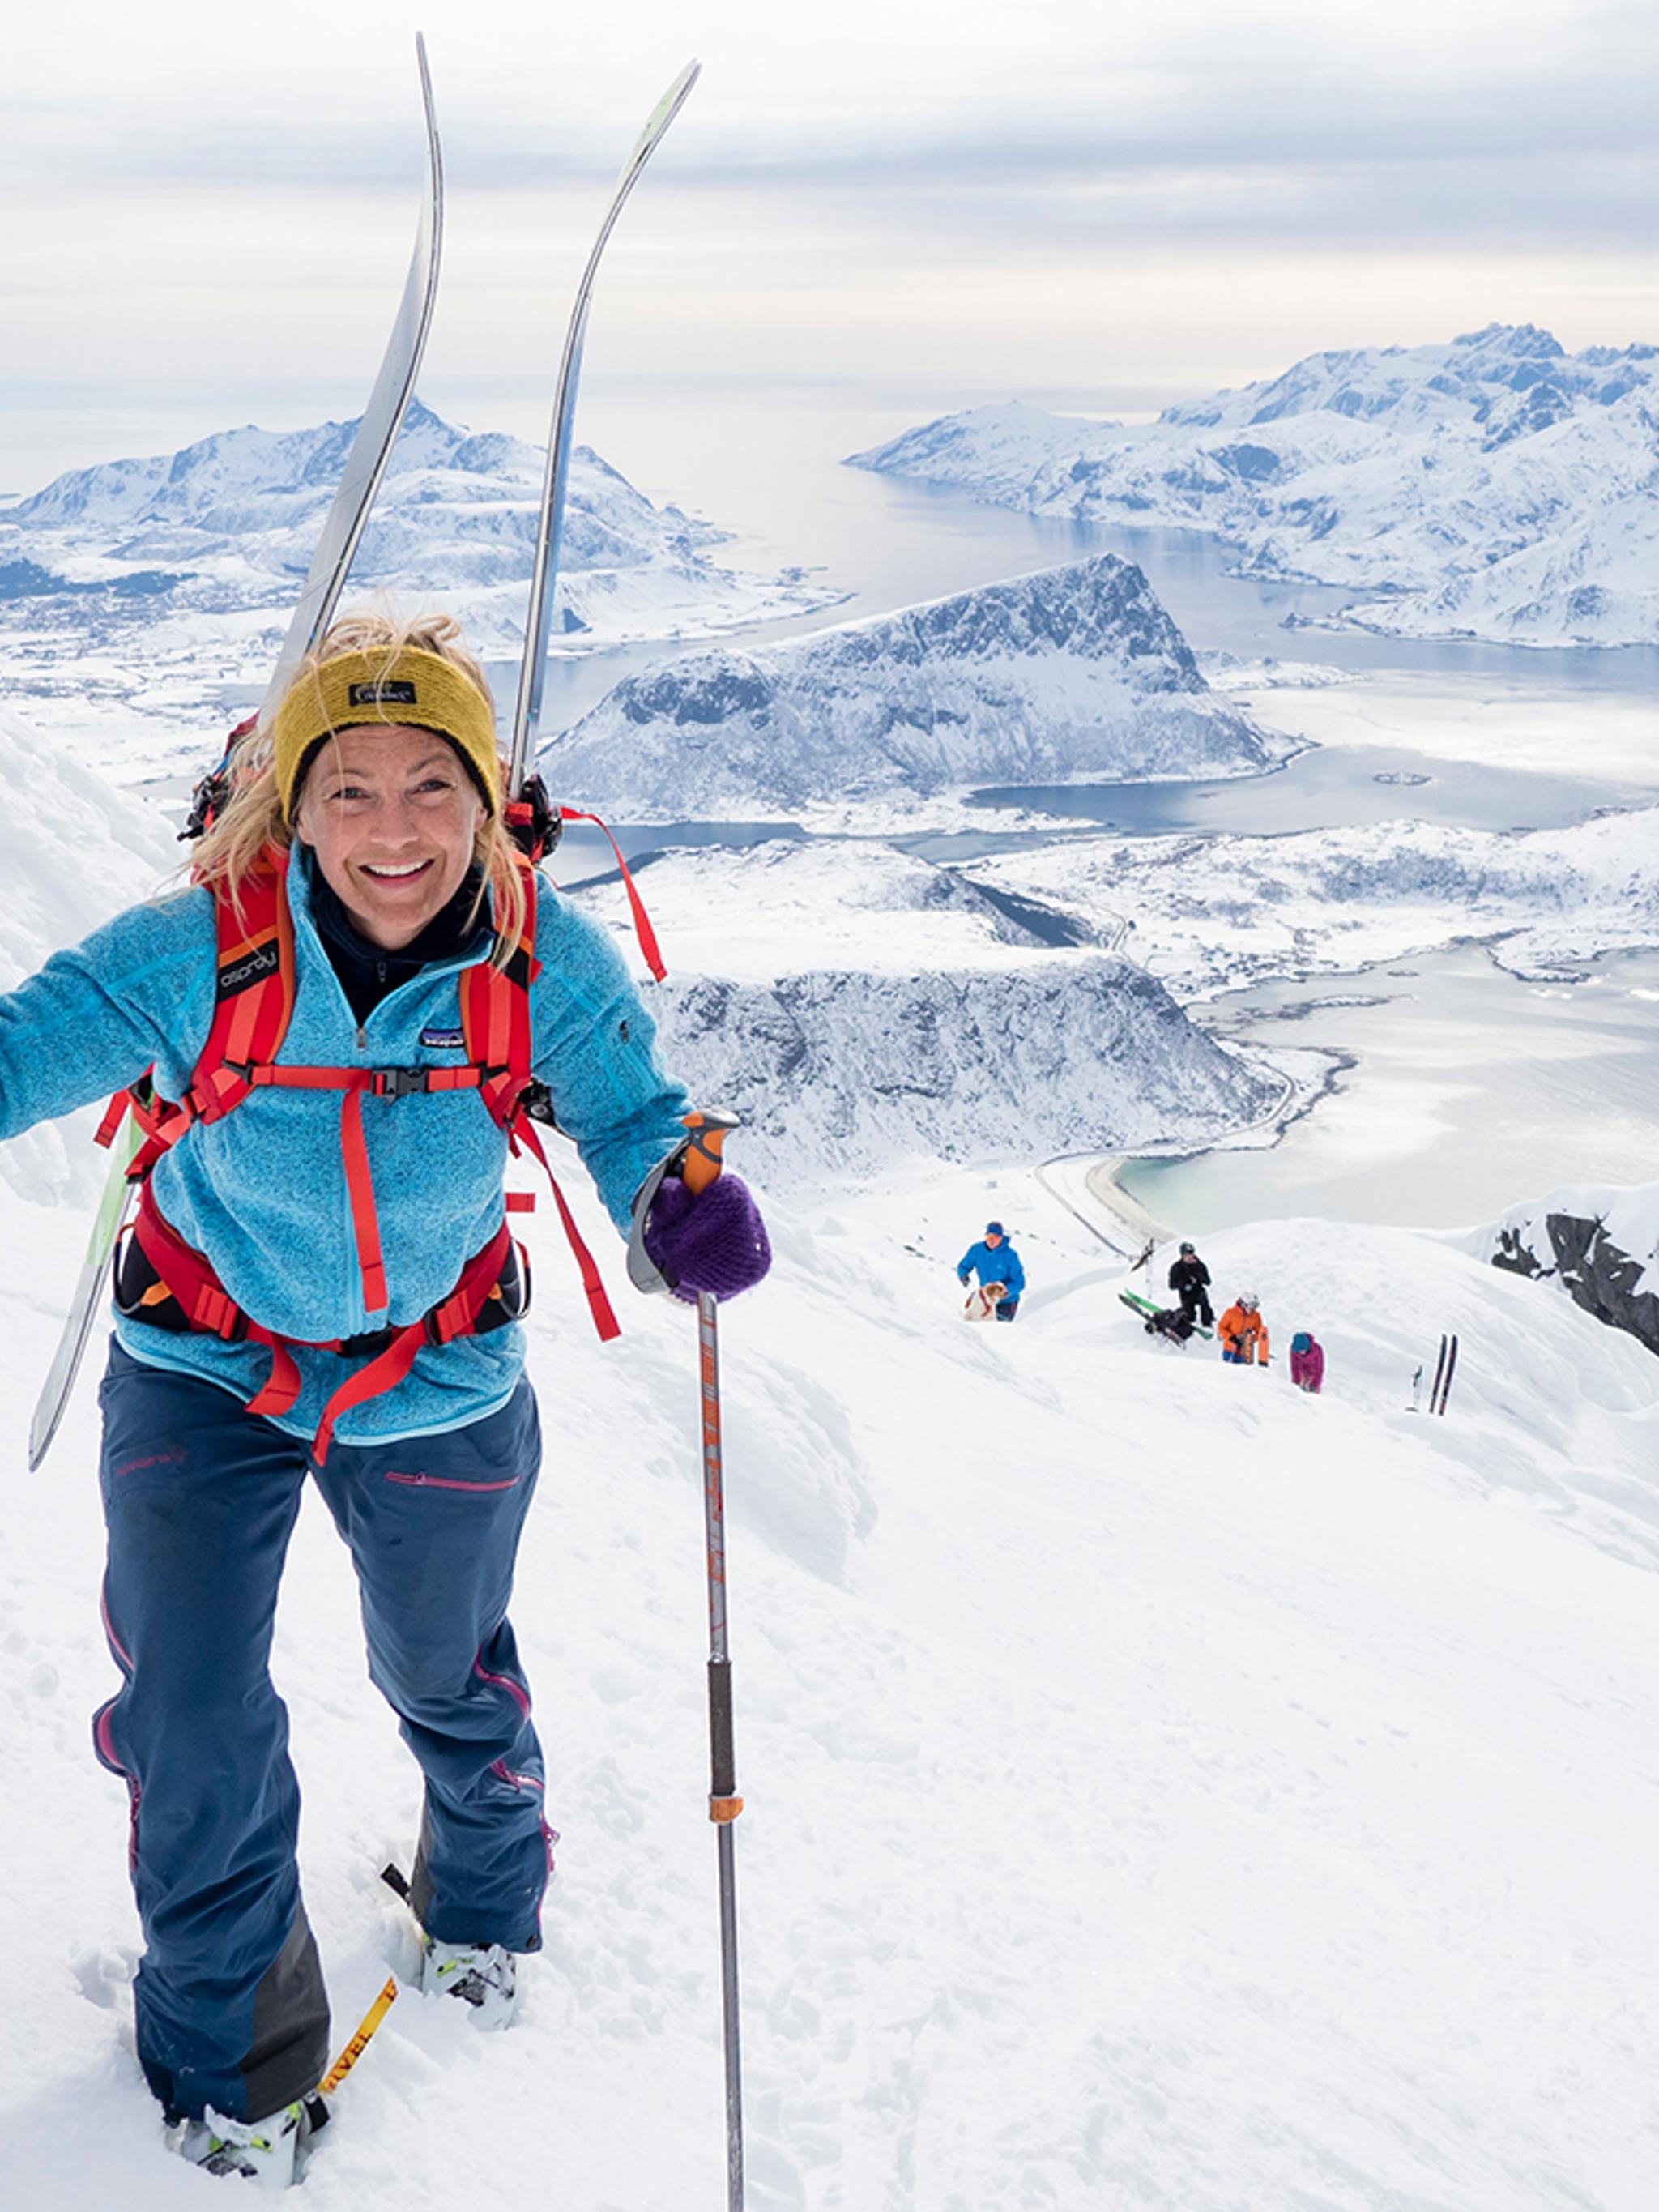
We won't stop you from heading out on an epic off-piste adventure, we just want you to be cautious. When ski touring, you are more exposed to potentially life-threatening avalanches. Here's what you need to know for a safe trip.
Safety for ski tourers
The mountains in Norway are perfect for an adrenaline-filled adventure in jaw-dropping surroundings. It is, however, important to be aware of the potential dangers that come with it.
Each year, avalanches in Norwegian mountains claim the lives of an average of five people, most of whom are ski tourers. Foreign visitors make up a disproportionately large share of these figures. To make sure you have a safe trip, both you and your group must be well prepared!
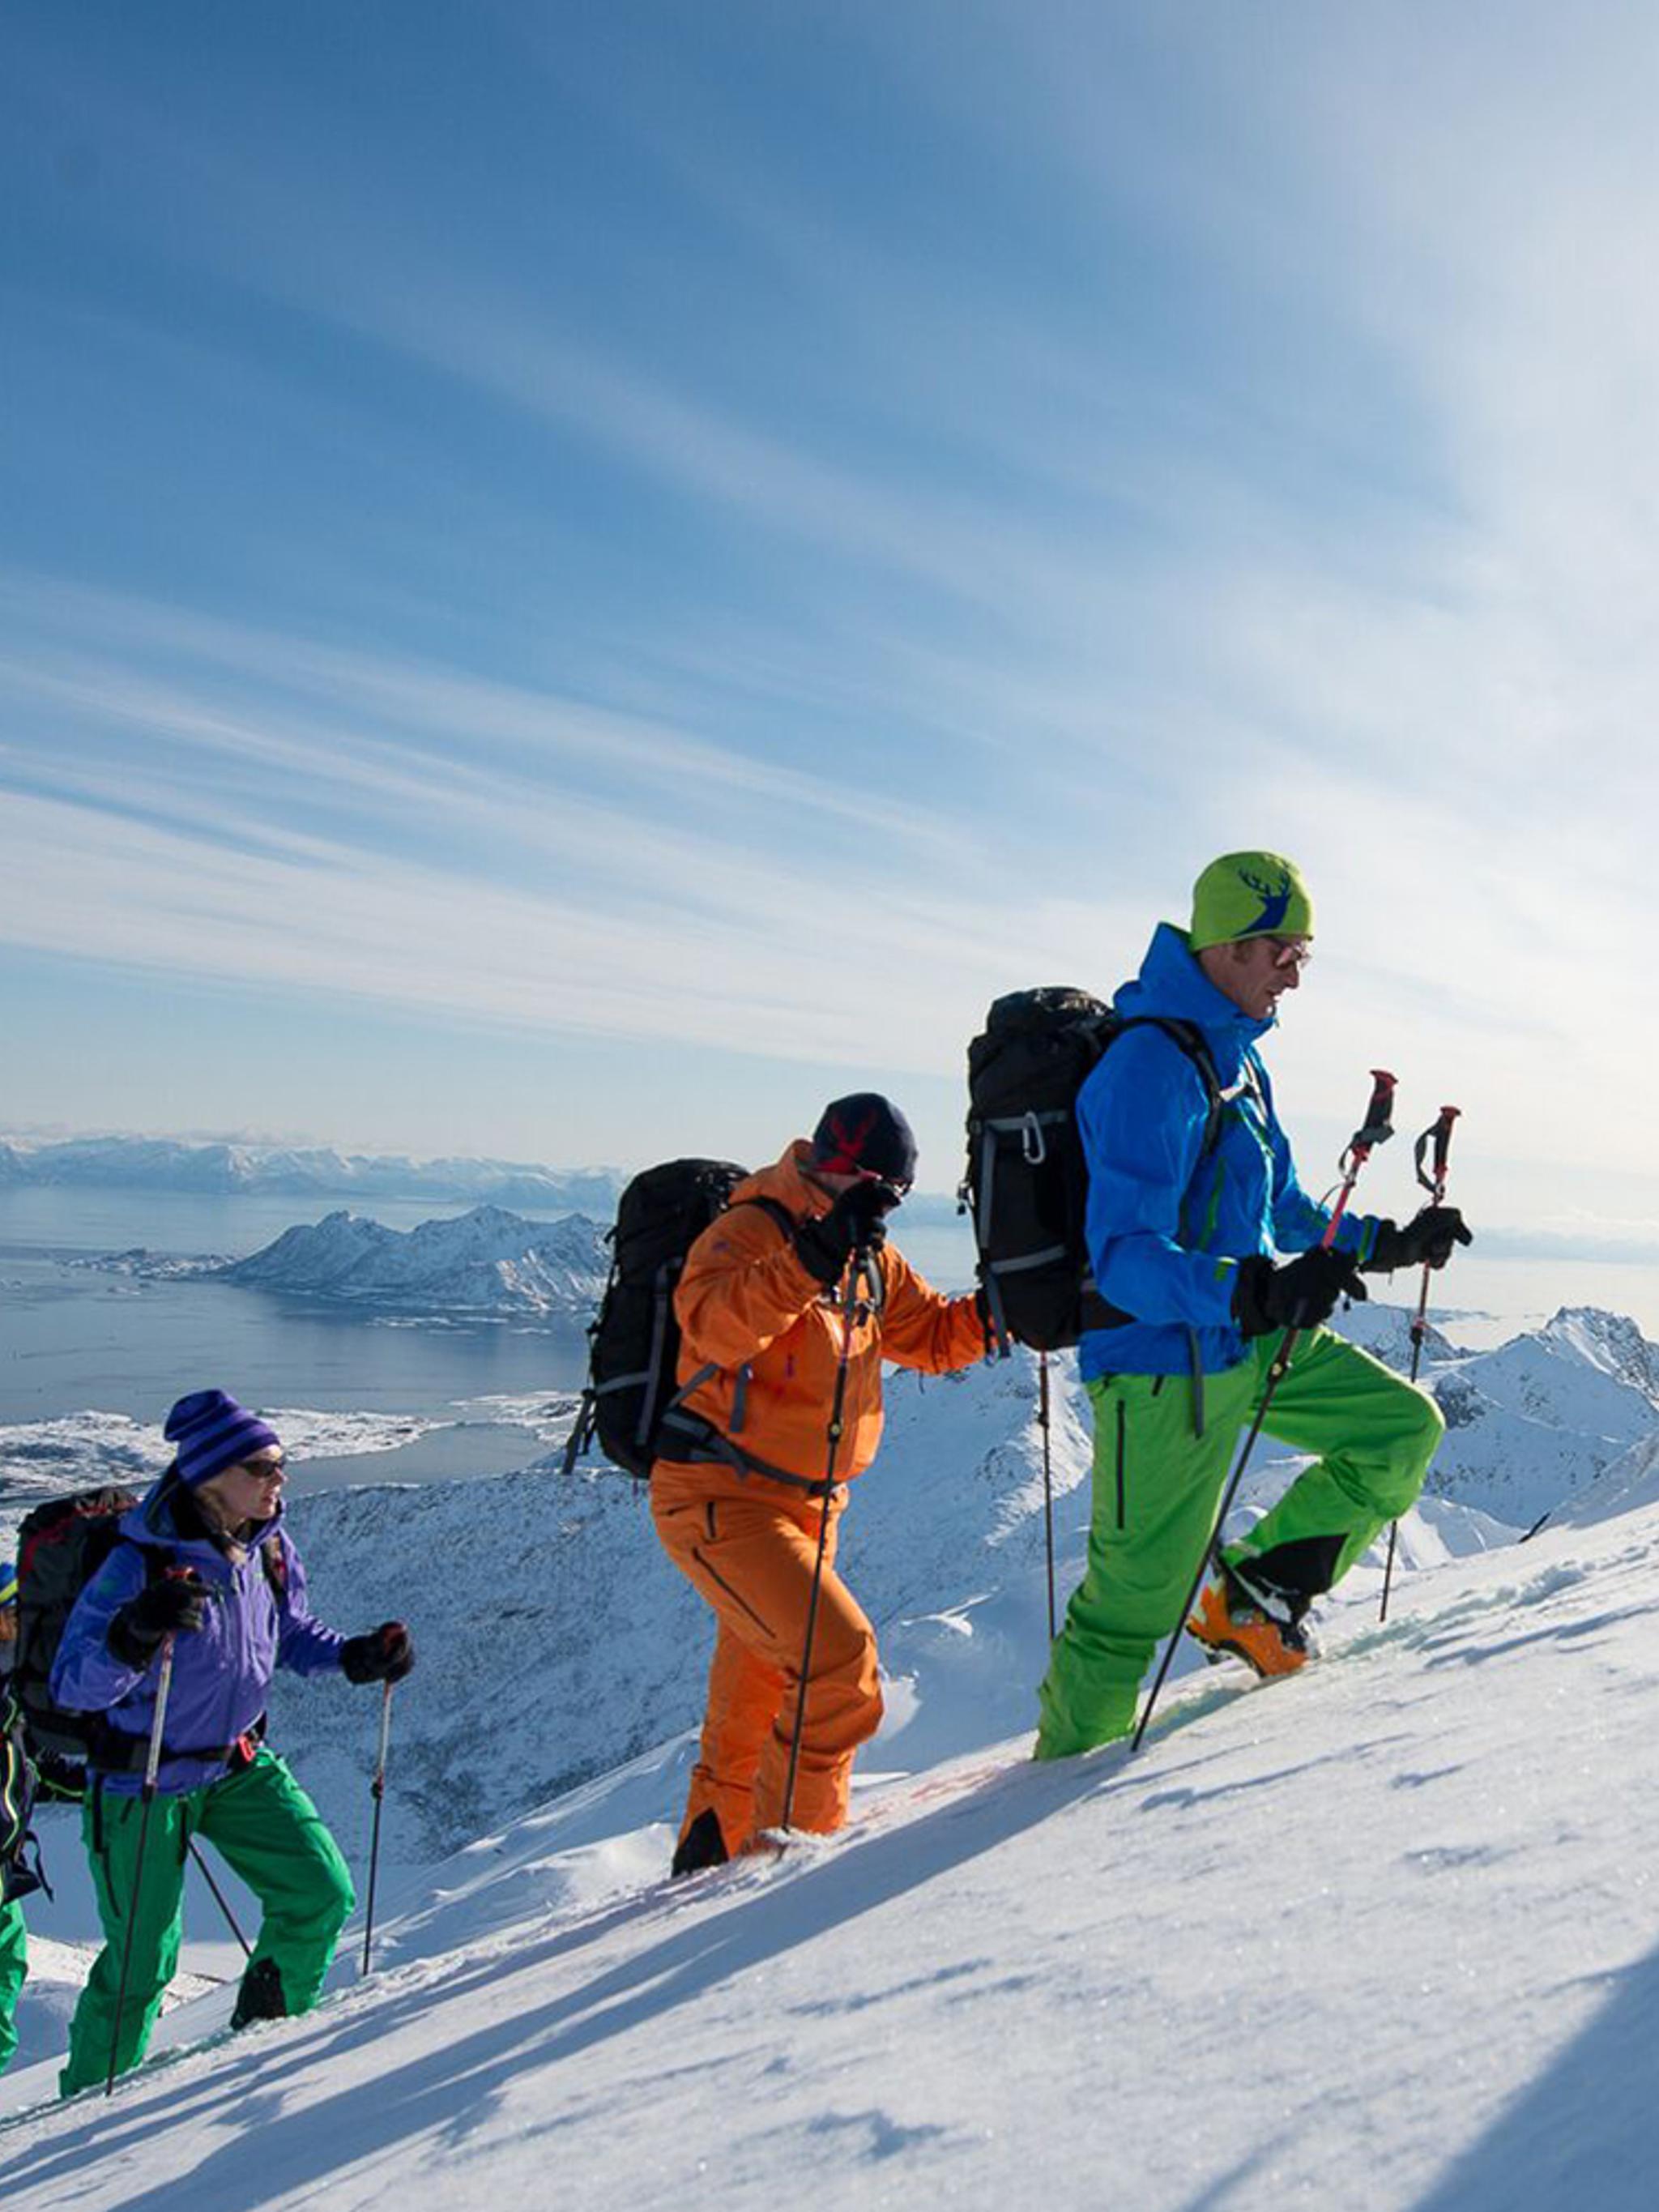
Before you go
Familiarise yourself with the mountain code that gives you good guidelines for a safe trip. The first rule is to plan your trip and inform others about the route you have selected in advance. Another important rule is number 8: don’t be ashamed to turn around and go back. There are a total of nine rules you should follow.
Before you go, start by checking the weather forecast at Yr.no and the avalanche risk at Varsom.no. In the backcountry, you are responsible for your own safety. Make sure that you and your group can handle the current conditions.
Hire a qualified local ski guide
Norway has a complex geography with fast-shifting weather patterns, which can make it difficult to understand the skiing conditions. If you have little or no experience you should read the ultimatebeginner's guide to ski touring. Regardless of your experience level, you should hire a local ski guide if you are in an unfamiliar area.
The International Federation of Mountain Guides Association (IFMGA) offers more than 100 qualified mountain guides who will ensure that you find the perfect trip for your level of fitness, skill, and ambition.
Note that the apps mentioned in the video below, Varsom and Regobs, are now a single app called Varsom.
A guide to safe ski touring in Norway
Avalanche forecast
The avalanche forecast Varsom.no posts a danger scale from 1-5 (by international standards) every day during the winter. Number 1 is low risk and 5 is the highest potential risk:
1 - Low, 2 - Moderate, 3 - Considerable, 4 - High, 5 - Very high
Be prepared to cancel or postpone your trip if the forecast is bad.
You should also read the text under the heading "Avalanche Problems" for each warning. It provides more detailed information than just a number. If the danger number is set to 2 - Moderate, very big natural avalanches are unlikely. However, they may still occur, and even medium-sized avalanches can bury you in snow. This is why you should avoid avalanche-prone areas altogether. You can learn more about avalanches below.
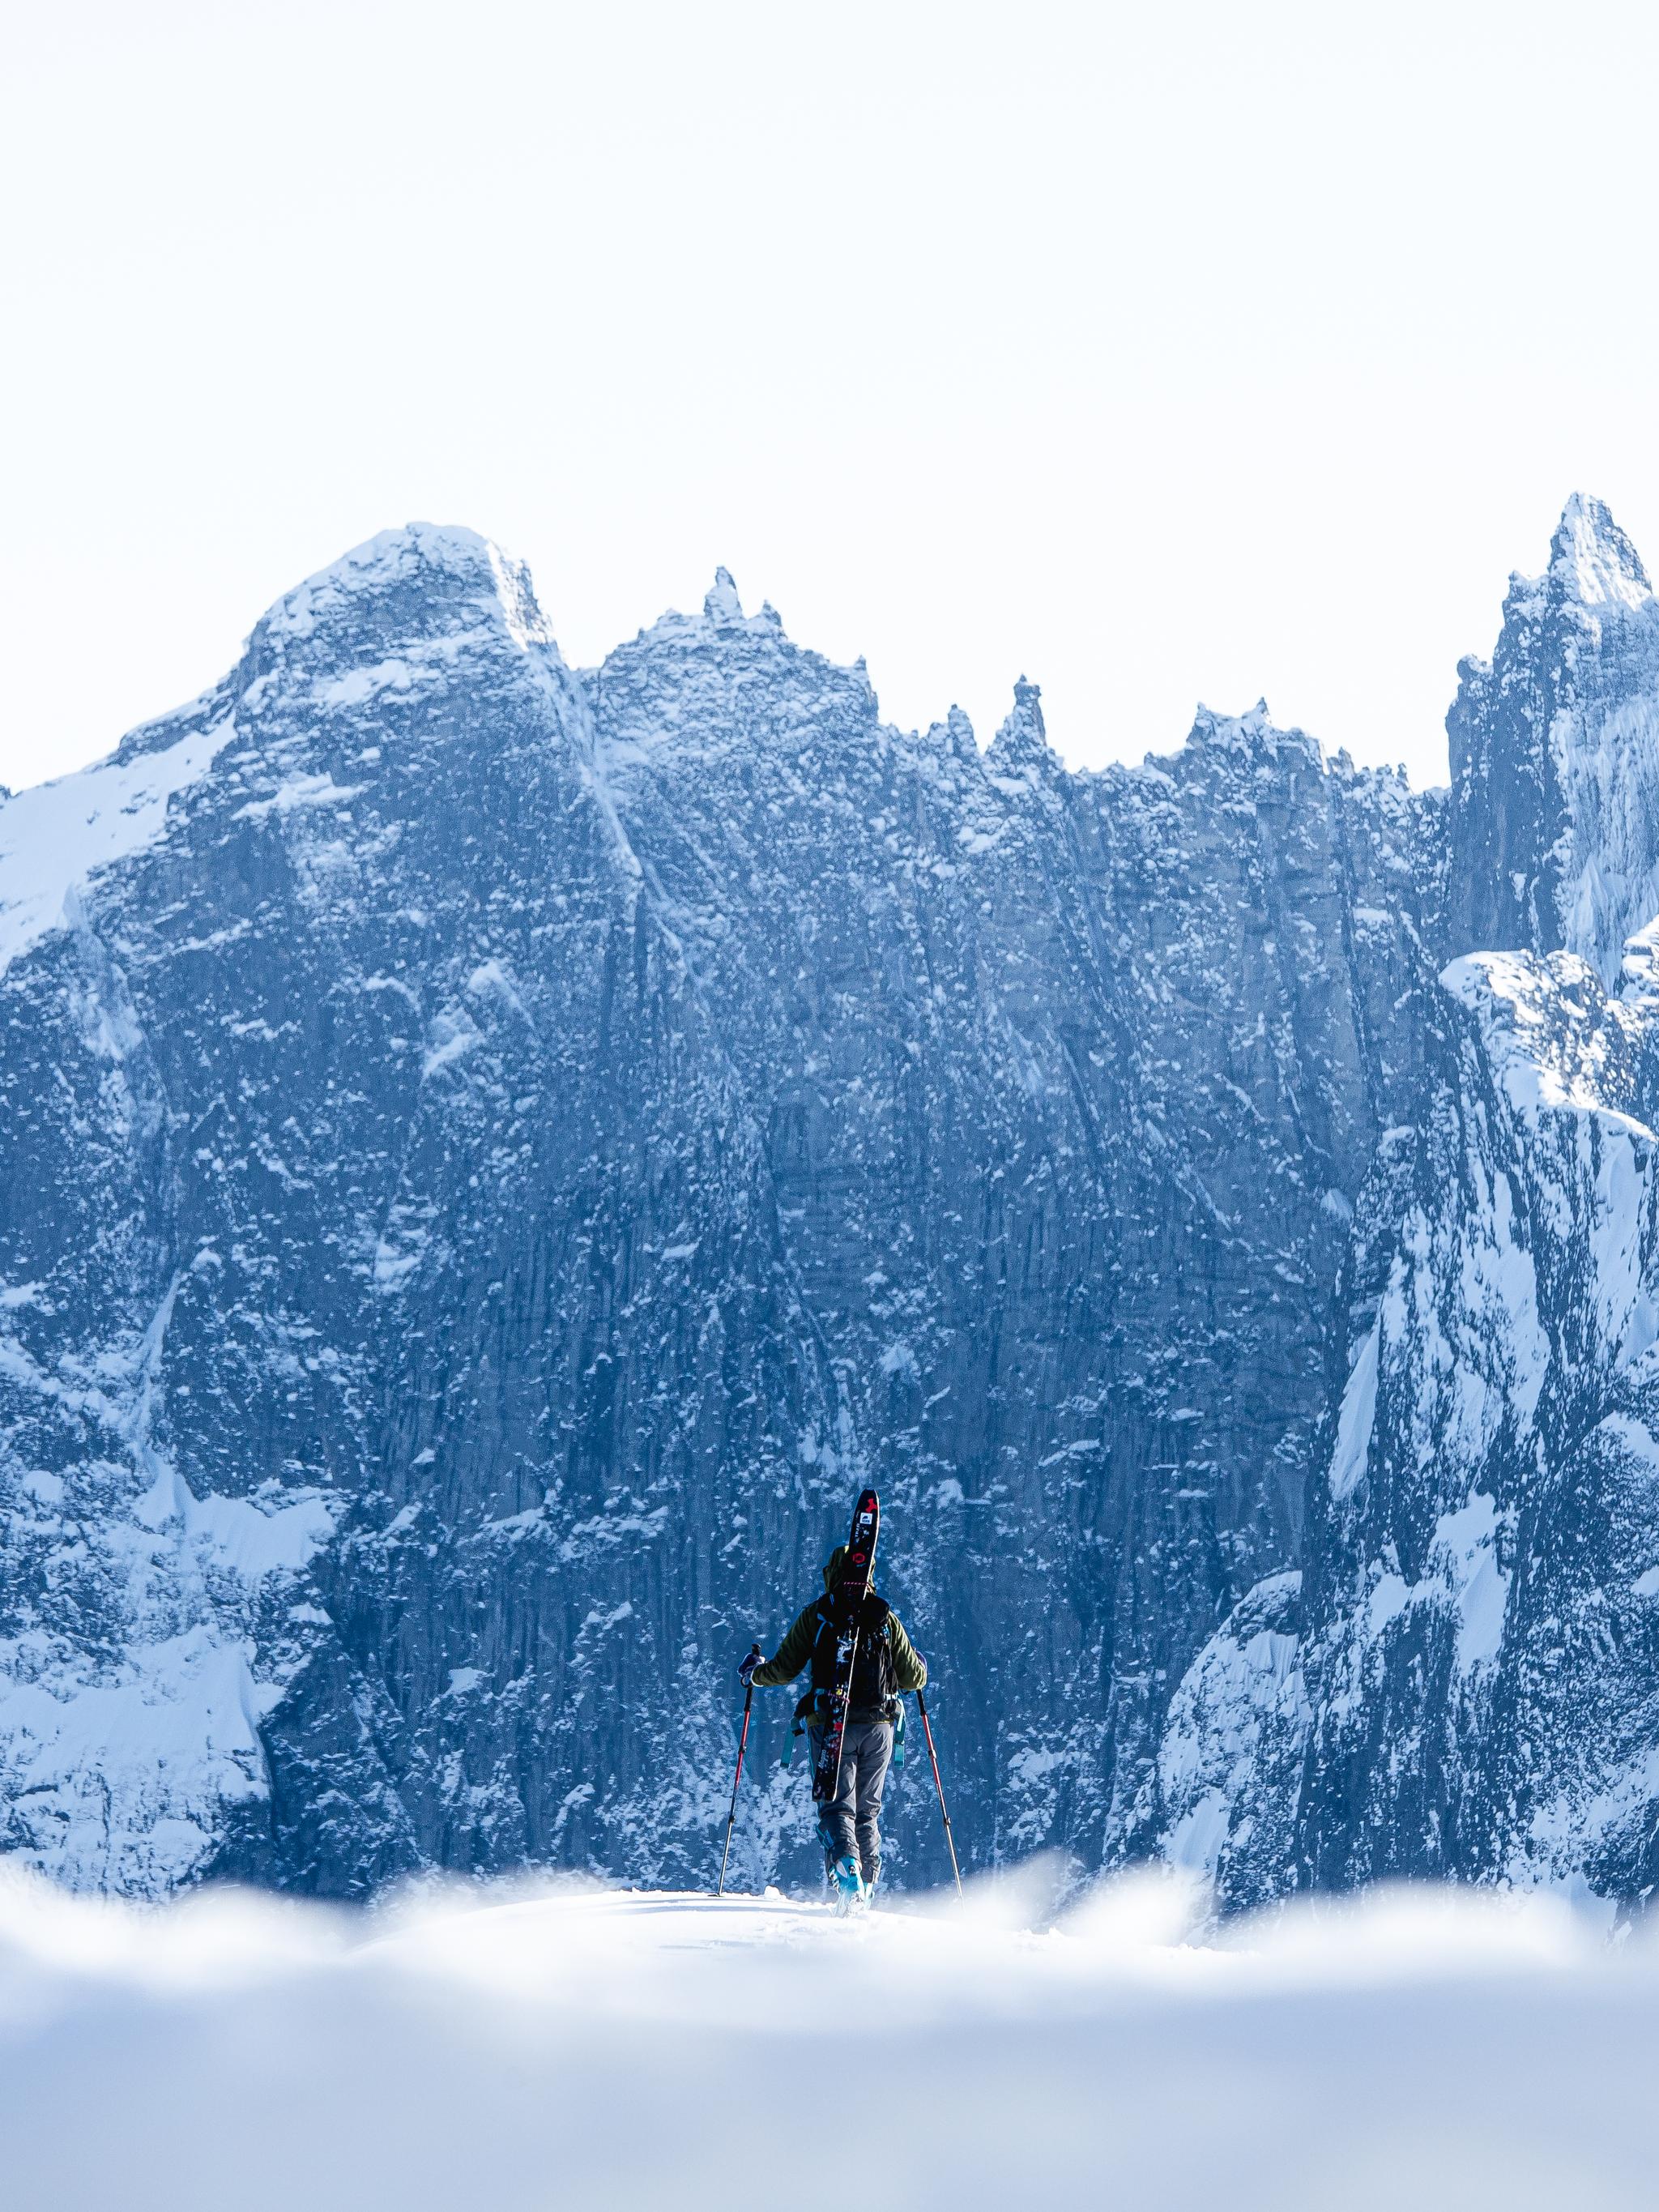
Dangers
When climbing a snow-covered mountain, don't go too close to the edge. Large snow cornices, overhanging edges of snow on a ridge or the crest of the mountain, can form. It's not always easy to see if you are at a cornice, so it's best to keep a safe distance from the edge. Cornices can collapse without warning.
Be aware of whiteouts. These require the use of a GPS or a GPS watch to find your way back. Read more on how to stay safe in the winter mountains.
Avalanches
Avalanches break in steep terrain, usually at a 30-degree or steeper incline. Luckily, there are many mountains you can climb in terrain below 30 degrees. To find the slope angle, you can use your ski pole, or a compass or download an offline inclination map at Varsom. Plan a route where you avoid steep terrain. There are many wonderful tours you can climb where there is a lower likelihood of avalanches. Here are six great routes.
If the avalanche breaks, it can run three times the vertical drop from the fracture line. This means that you can be caught in an avalanche even on flat terrain. So take a close look around you and see if there are potential avalanche runout zones. The map at Varsom shows you the different zones; check the map on your phone if you feel unsure.
Rescue
Everyone in your tour group has to be able to rescue each other in case of an emergency. Practice buddy rescue and always bring the following avalanche equipment when ski touring:
- Avalanche beacon
- Probe
- Shovel
This is how to find a person trapped in an avalanche:
The first 15 minutes after someone has been caught in an avalanche are critical. The probability of being found alive decreases significantly after spending 15 minutes below the snow. The other group members should contact the rescue team, but don't stop and wait. Statistically, the greatest chance to survive an avalanche is when fellow skiers locate and dig out the person trapped in an avalanche, known as buddy rescue. That's why all members of a ski touring group must carry, and know how to use, avalanche equipment.
It is unfortunately often too late by the time the rescue team arrives.
What to bring
It can be demanding to reach the best slopes, and it is therefore crucial to pack as lightly as possible (in a good backpack) without compromising any of the essentials (see the list of what to bring). Before setting off:
- Test and familiarise yourself with the emergency equipment: probe, avalanche beacon and shovel.
Bring your phone
The Norwegian Air Force330 Skvadronen's rescue helicopters are equipped with mobile tracking equipment. They can find all mobile phones as long as they are on – even those without coverage. So keep your phone switched on in case you need to be found. Ensure you are detectable by electronic searches such as mobile tracking, distress beacons, and avalanche beacons.
Also bring a headlamp, extra batteries for your avalanche beacon, and a power bank for your phone.
Packing list
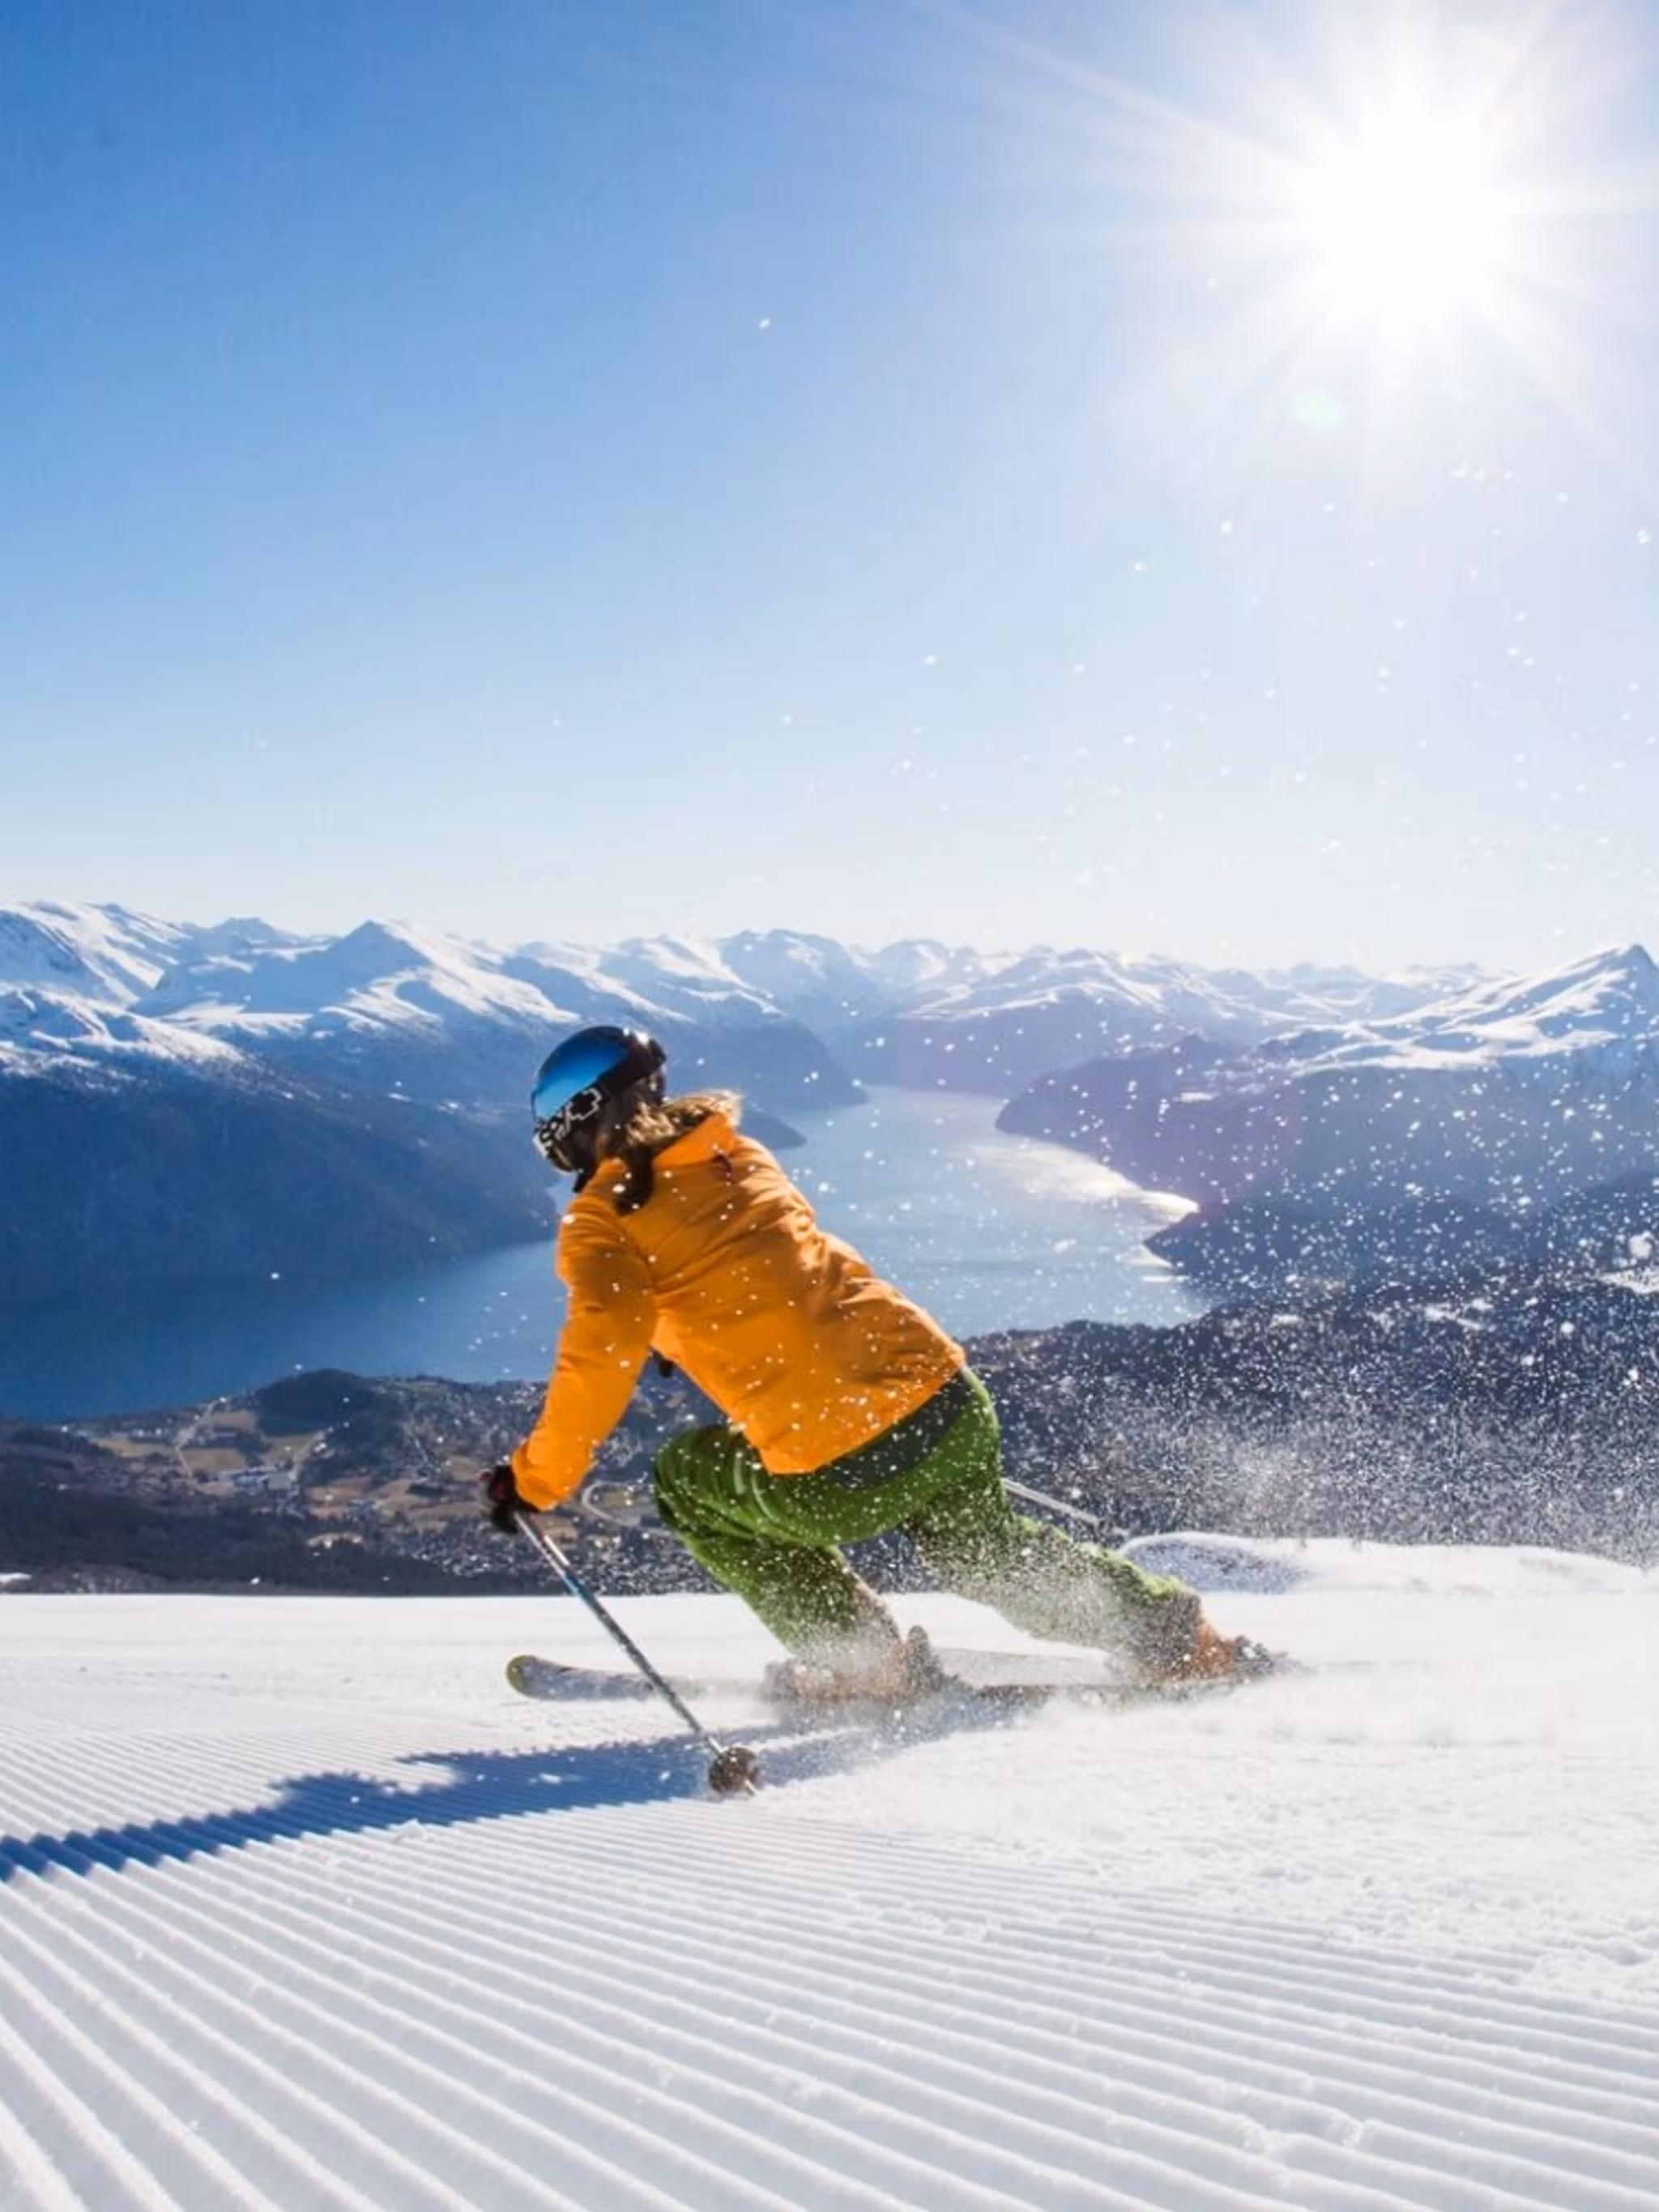
What to wear
The weather in the mountains can change quickly, and you can get all seasons in one day. The best advice is to wear multiple layers, as this makes it easier to regulate your body temperature.
- A tight-fitting base layer made of wool will keep you cool going uphill and warm on your descent.
- A wool jumper or fleece middle layer will help you stay warm.
- A light wind and waterproof jacket and trousers are an outer layer that protects you from the elements.
- A down jacket can be worn when you stop for a break. This is also good to have in case of an emergency.
- A hat, warm gloves and a buff.
If you are wearing colourful clothes,it is easier to spot you from a distance in an emergency.
Use sun protection and snow goggles. Bring sunscreen of at least 30 SPF to protect your skin, and shaded snow goggles or sunglasses. See the fact box for a full checklist of what to bring.
Summary: Be well prepared and follow the packing list before you set out on your ski touring adventure. To avoid avalanches, select a route that's in terrain below a 30 degree incline and stay away from runout zones. To ensure a fun and safe trip, go with a local guide.
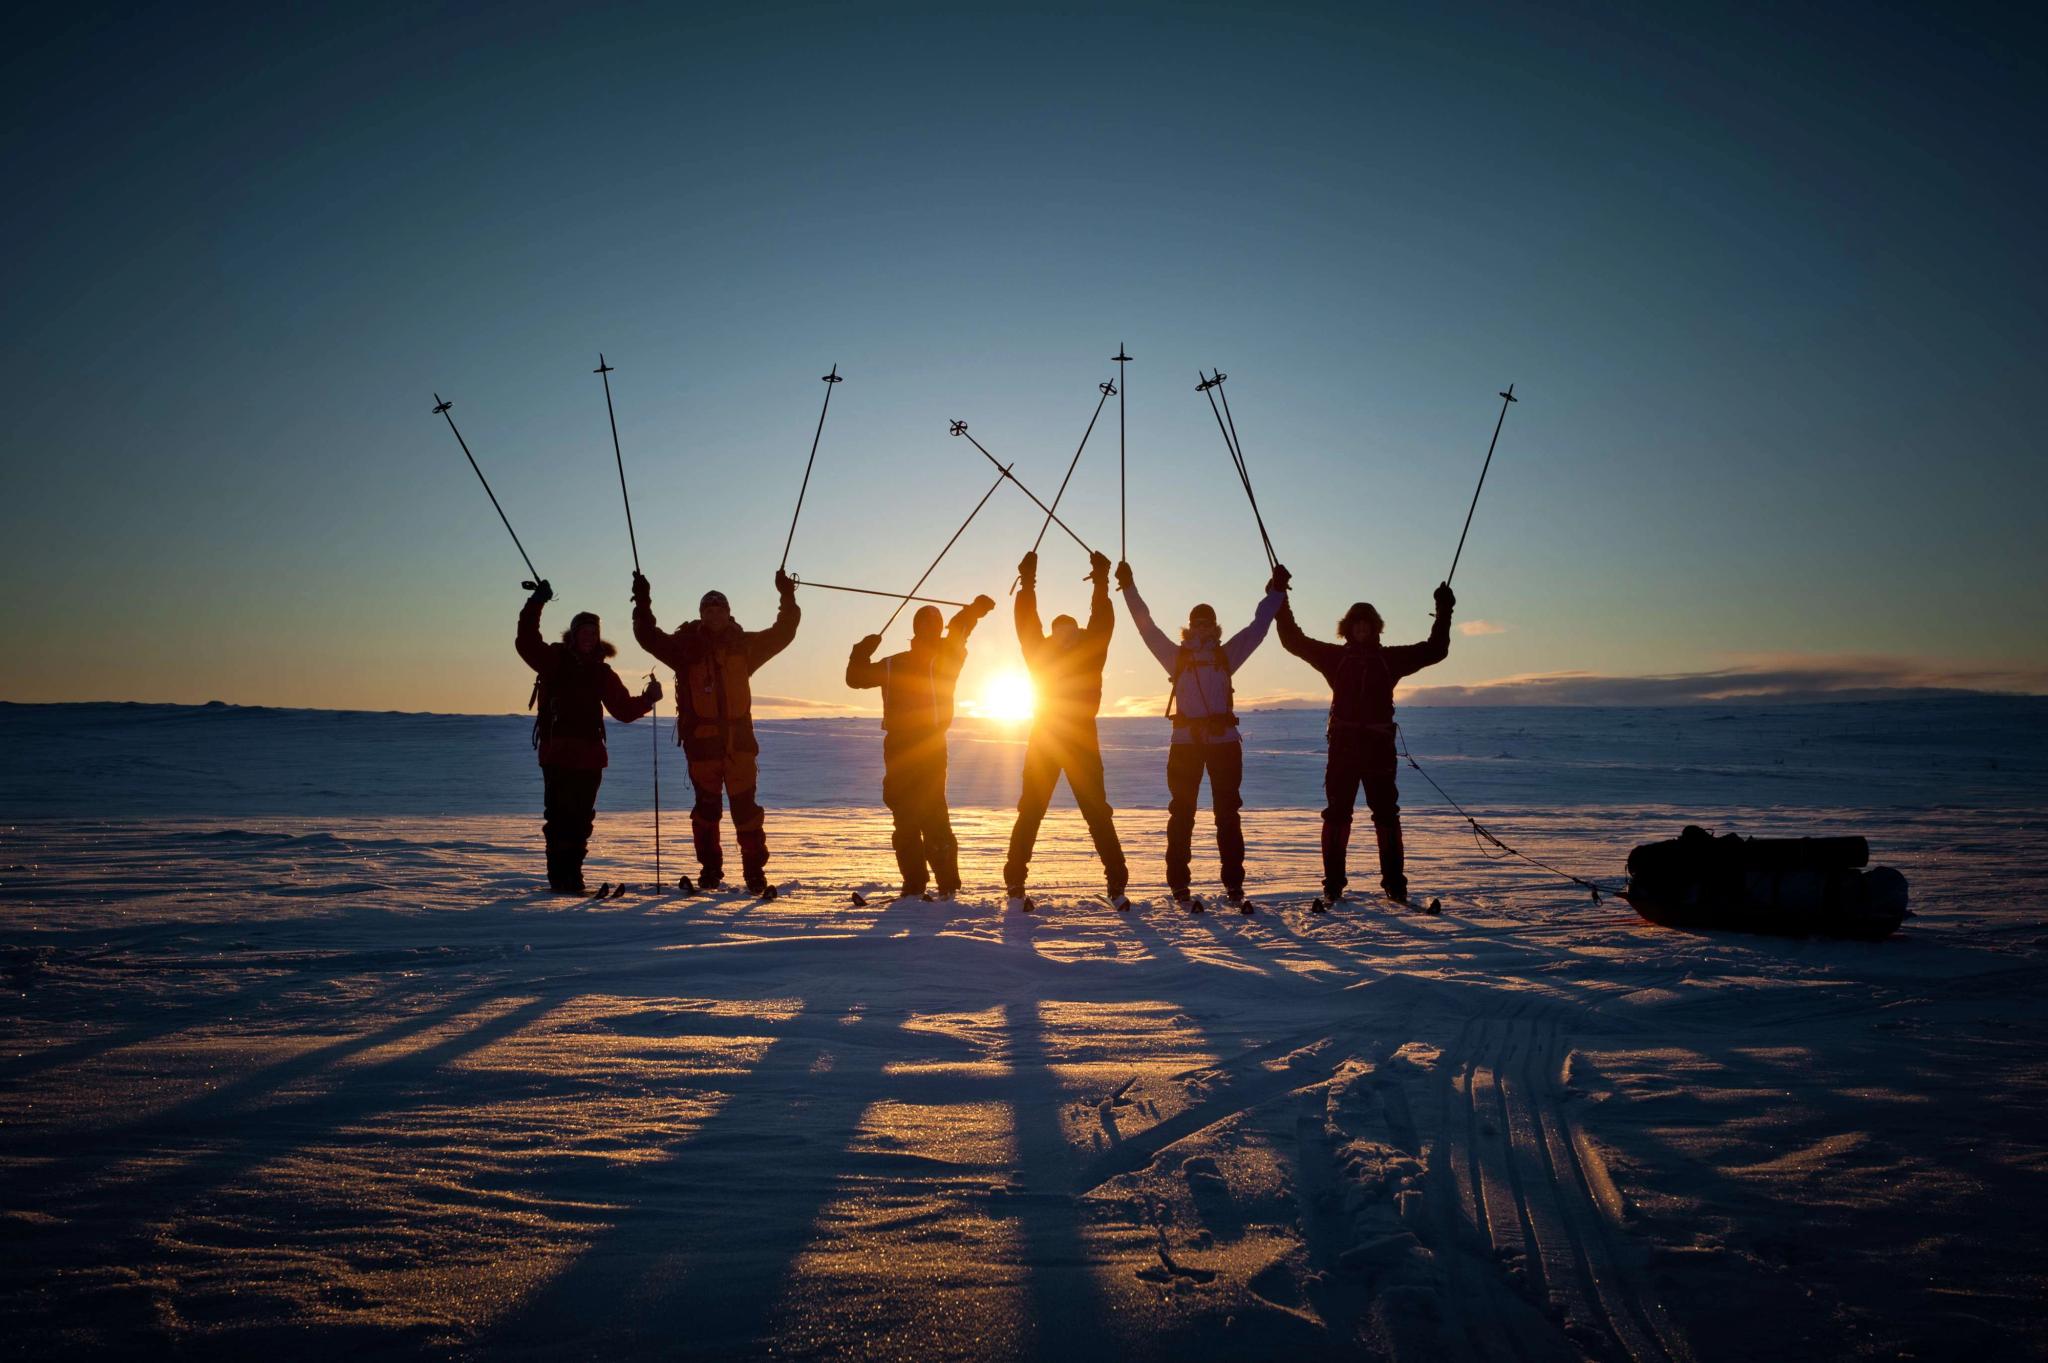
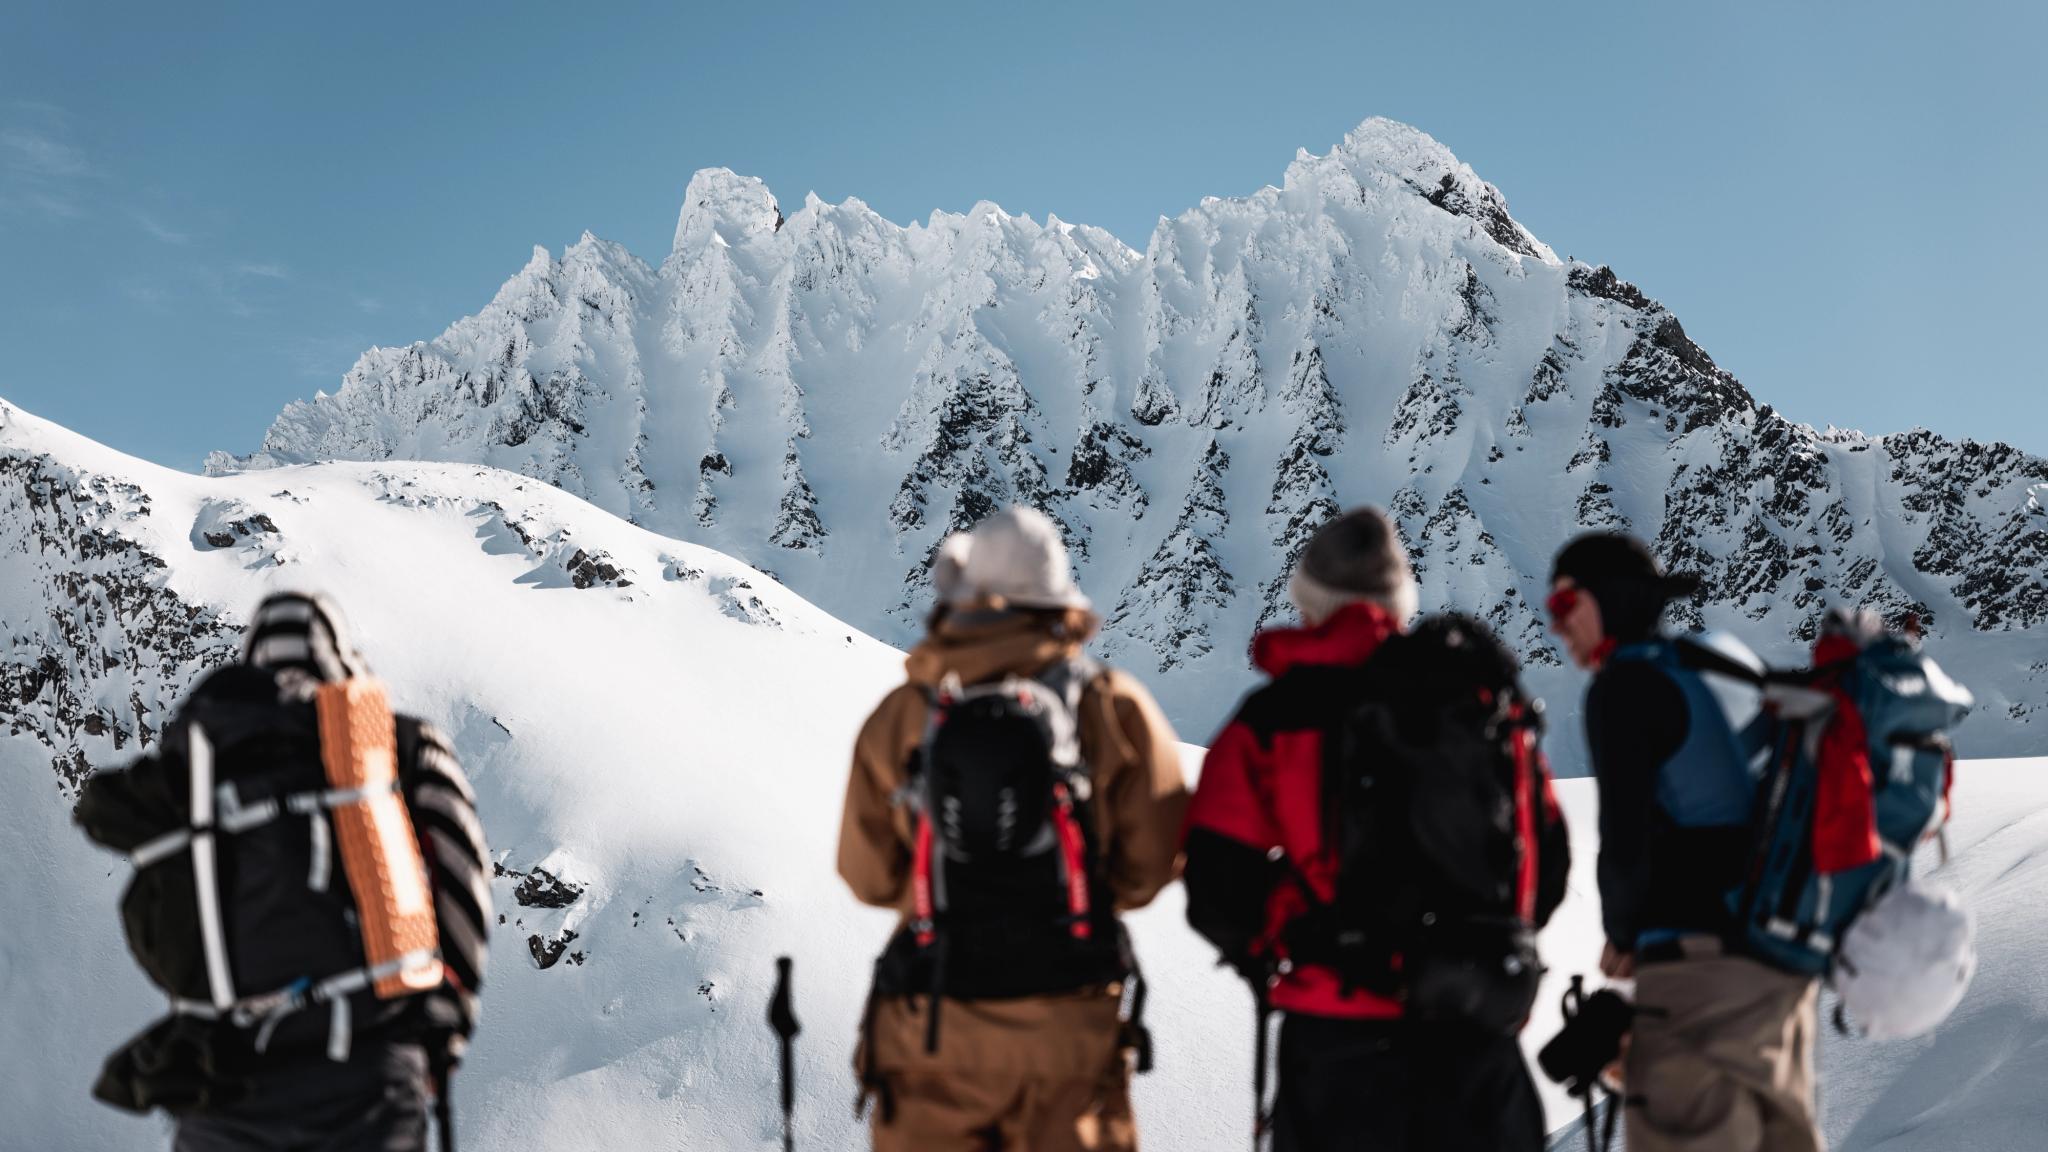
Safety for ski tourers
Watch the videos to understand some of the challenges you face when ski touring in Norway.